December 30, 2025
Sinus Lift Diagram: Visual Guide to Procedure Steps and Anatomy

Teaching sinus lift anatomy is like describing a cave system you cannot see from the outside. You know the floor, the membrane, and the final path, but your students are building a mental map in the dark. A sinus lift diagram is the flashlight that finally illuminates the cave. Bear with me for a second. If you are searching for a sinus lift diagram that is accurate and presentation-ready, this post outlines the key visuals and how to use them effectively.
You'll get a complete set of anatomy, procedure sequence, and technique comparison visuals for lectures, case presentations, and surgical planning. Now you know. Let's make the map clear.
Try the demo
Create your own dental diagram in seconds
Generate an AI illustration like the one in this article. No account required.
Sinus Lift Anatomy Diagram
The most important starting point is a sinus lift anatomy diagram. It shows the maxillary sinus, the Schneiderian membrane, the residual ridge, and the planned implant site. For a complete overview of bone augmentation protocols including sinus procedures, see Vertical and Horizontal Bone Augmentation. This image establishes the spatial relationships that learners must understand before surgical steps are introduced. The classic descriptions by Boyne and James (1980) and Tatum (1986) still describe the core anatomic challenge: we need vertical height without violating the membrane. I mean it. This matters.
Use this diagram early in the lecture to orient the audience. Understanding bone dynamics before sinus augmentation is essential—explore Bone Remodeling After Tooth Extraction for foundational context. It is also ideal for treatment planning discussions, because it clarifies when residual bone height is insufficient for implant stability.
"Treat the Schneiderian membrane like silk: stable, elegant, and never rushed."

Key anatomy to emphasize
- The sinus floor relative to the crestal bone.
- The Schneiderian membrane as a delicate, elevated layer.
- Residual ridge height and its impact on implant planning.
Lateral Window Sinus Lift Procedure Diagram
A lateral window sinus lift procedure diagram explains the surgical sequence. The core steps include lateral window creation, membrane elevation, graft placement, and closure. For teaching, a 4 to 6 step sequence is often the clearest.
This visual is essential for implantology courses and for presenting a standardized protocol to residents. It can also be used to compare technique variations across institutions.

Suggested sequence labels
- Lateral window outline and osteotomy.
- Membrane elevation without perforation.
- Graft placement and volume augmentation.
- Implant placement (if simultaneous) or membrane coverage.
- Closure and healing phase.
If your pulse just went up reading "membrane elevation without perforation," you are not alone. The diagram keeps that risk visible without making it dramatic.
Sinus Lift with Simultaneous Implant Placement
A sinus lift with simultaneous implant placement diagram is useful when the residual bone allows primary stability. This visual helps learners see the relationship between implant position and the elevated membrane while the graft matures. For considerations on immediate vs. delayed placement protocols, read 12 Facts About the Bundle Bone, the Gap, and Immediate Implants.
When you present this diagram, emphasize the biomechanical rationale. Highlight the minimal bone height required, the risk factors, and the importance of membrane integrity.

Crestal Approach Sinus Lift Diagram
A crestal approach sinus lift diagram shows a less invasive technique, often performed with osteotomes or hydraulic systems. This diagram is effective for comparing approaches and for illustrating indications when a full lateral window is not required. Summers (1994) helped formalize the osteotome approach, and the mental model is simple: think keyhole surgery, not open-door carpentry.
Use it to discuss case selection, residual ridge height, and the limits of membrane elevation from the crestal access point. A comparison slide with lateral window vs crestal approach can improve retention.

Clinical accuracy notes
- Figures 1-2 use simplified sinus geometry and stylized colors; instruments and vessel sizing are schematic for clarity.
- Figure 3 shows a membrane dome for readability; in practice the membrane is flaccid without support.
- Figure 5 presents graft material schematically and does not depict a fractured cortical plate, which may appear in some crestal techniques.
Lateral vs Crestal Approach Comparison
Use this quick comparison table when you need to explain the two main sinus lift approaches at a glance.
| Feature | Lateral Window Approach | Crestal Approach |
|---|---|---|
| Access | Lateral wall osteotomy | Crestal access (osteotome or hydraulic) |
| Typical indication | Limited residual bone height | Moderate residual bone height |
| Residual bone height (rule of thumb) | Often <5 mm | Often ≥5 mm |
| Graft volume | Larger augmentation | Smaller augmentation |
| Visualization | Direct membrane access | Indirect (limited) visualization |
| Invasiveness | More invasive | Less invasive |
| Simultaneous implant | Possible but case-dependent | Common when primary stability is achievable |
| Recovery | Longer, more post-op management | Shorter, less post-op management |
Note: Thresholds vary by case, anatomy, and system. Always follow current clinical guidelines and training.
Download Sinus Lift Diagrams for Lectures
To save preparation time, start with a set of watermarked sinus lift visuals that you can drop directly into lecture slides. Once you select the diagrams you need, customize them for your own cases with PerioSpot Studio.
Free sample pack (watermarked)
- Sinus anatomy diagram
- Lateral window sequence
- Simultaneous placement view
- Crestal approach comparison
For bone regeneration protocols to pair with sinus lift procedures, see How to Solve the Most Common Bone Defects With Guided Bone Regeneration.
CTA: Create custom sinus lift diagrams in PerioSpot Studio.
Using Sinus Lift Visuals in Patient Consultations
Even though the primary audience is dental professionals, a simplified version of the sinus lift diagram can help with patient communication. The key is to remove excessive labels and focus on the goal of creating vertical bone height.
Keep the message simple
- Why additional bone is needed.
- How the membrane is elevated safely.
- When the implant will be placed. For more guidance on patient communication and expectations, see 4 Techniques to Perform an Effective Ridge Preservation.
For professional context and visual workflow ideas, see The Art of Dental Illustration and AI Dental Illustrations for Research.
Try the demo
Create your own dental diagram in seconds
Generate an AI illustration like the one in this article. No account required.
Conclusion
A clear sinus lift diagram improves education, case planning, and communication. By using anatomy, procedure sequence, and approach comparison visuals together, you can provide a complete narrative that learners remember.
I built PerioSpot Studio because I wanted these diagrams to look the same across every lecture and case conference. If you want diagrams tailored to your own surgical protocol, start with PerioSpot Studio and generate your visuals in minutes. Explore pricing.
A sinus lift diagram is the blueprint before you enter the room; without it, everyone builds a different house.
Related Articles
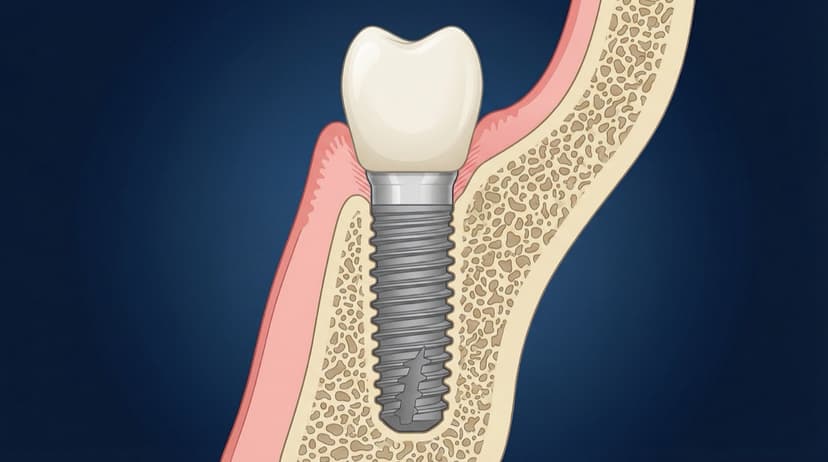
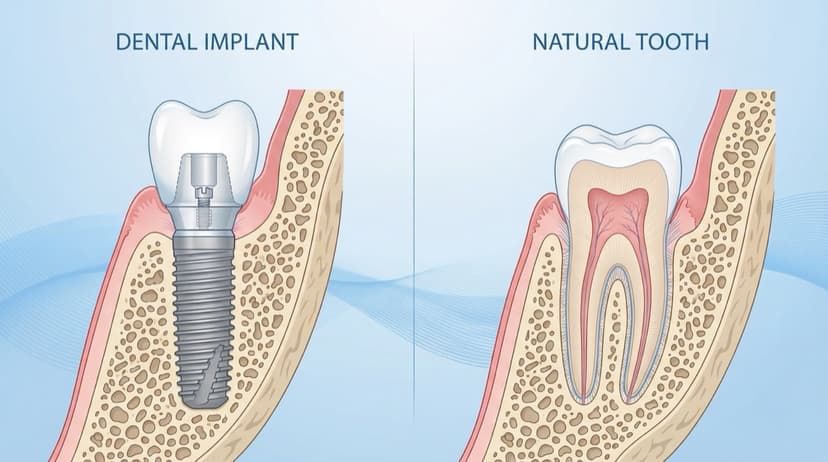
Dental Implant Diagram: Anatomy, Parts, and Procedure Visuals
Free dental implant diagrams for lectures and patient education. Download transparent PNGs showing implant parts, placement procedure, and component anatomy.
Dental Patient Education Materials: Visual Resources for Modern Practices
Create professional dental patient education materials with AI. Free diagrams, illustrations, and visual tools for implants, GBR, and periodontal procedures.

AI Dental Illustrations for Research: From Sketch to Publication
Create publication-ready dental research figures with AI. Learn how to turn rough sketches into journal-quality illustrations in minutes, not weeks.
Try the demo
Create your own dental diagram in seconds
Generate an AI illustration like the one in this article. No account required.